Hey guys – it’s Jake this time. Glad you could join us!
So last week we took care of the very basic basics – figuring out what the website would be about, buying the domain and hosting, and branding it. This week, we’ve stepped things up a notch – here is what we’ve been up to on our quest for internet domination (as in success, not S&M kinky stuff. Honest).
- Get WordPress
There are a fair few publishing platforms out there, but it seems like this is the way to go for ease of use, range of features, and all-round quality. Last week we got set up on Hostgator, so after all that got confirmed, we installed WP (abbreviations – time is money etc) like so, through the cPanel on our Hostgator account.
Grab the free version: https://wordpress.org/download/
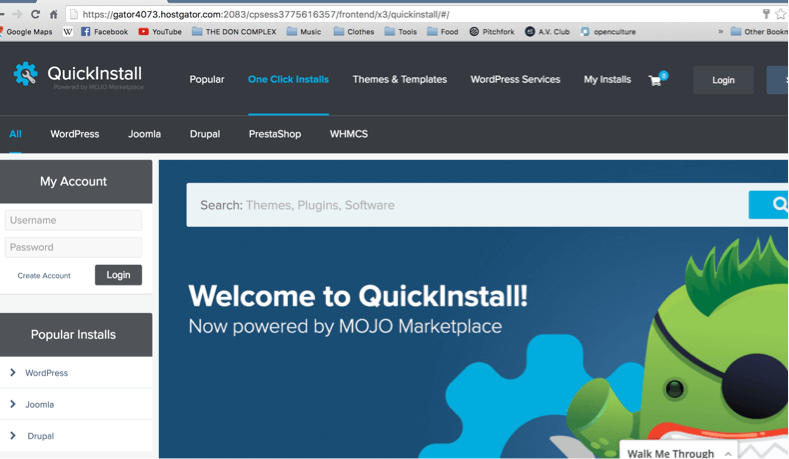
Once installed, your domain will take you to –
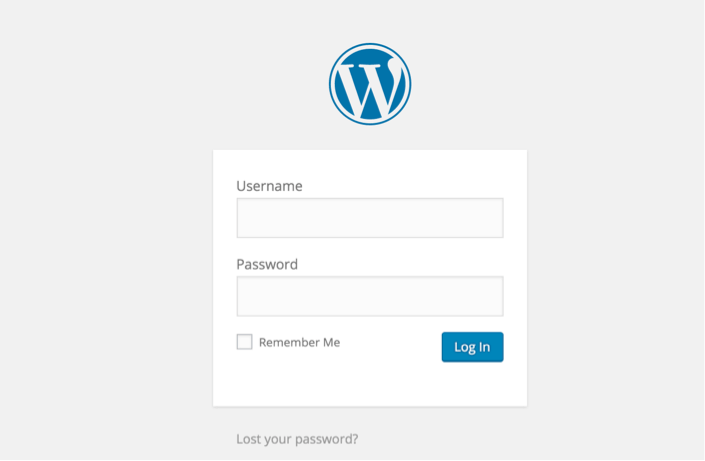
Log in, and you’ll be here –
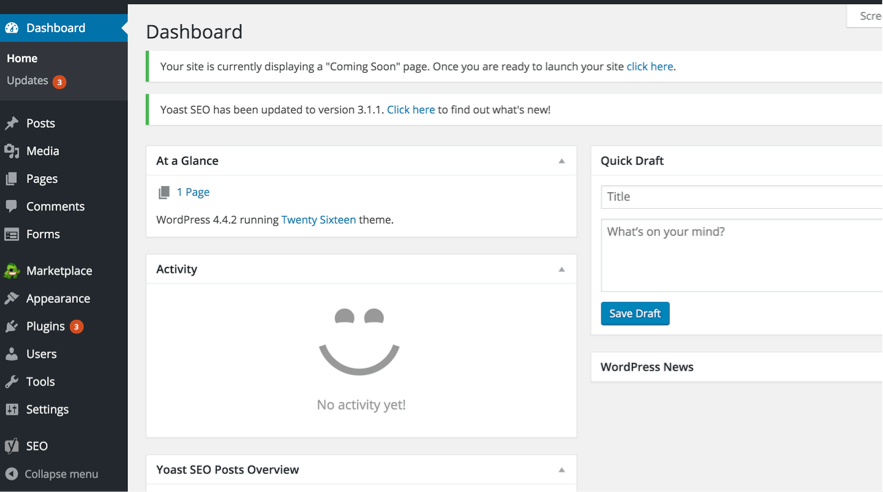
This is the backend of your site, and is where you get everything done. It’s awesome, because it lets you flick between the backend building-block stage, and the side that the intrepid web explorer sees when they visit as well. Admittedly it took us (by us I mean Dan) an age to work this out for some reason – must have had blinkers on – but on the top left, just above where i’ve cropped the image, where it says ‘dashboard’, will be the name of your site’s domain. Click that and it takes you straight into what you’re building. It updates instantly, so is really neat for exploring what you’ve been working on quickly and effectively.
The menu on the left is our go-to place workshop now, and the first thing we took care of was to check out the Plugins option. This menu allows you to customise your WP platform with cool additions and tweaks (sort of like an App store) to maximise your experience.
We’ve nabbed a couple of great things so far, including a Cookie Consent plugin that takes care of all legal Cookie issues and requirements (particularly for EU Law) – https://wordpress.org/plugins/uk-cookie-consent/
An amazing SEO (search engine optimisation, obviously) tool called Yoast – https://wordpress.org/plugins/wordpress-seo/ [holds your hand as you build each article to make sure you’re hitting everything you should be hitting to get up in the Google ranks]
And an image optimizer to optimize images on our site so that they load as painlessly and quickly as possible (again, time is money!) – https://wordpress.org/plugins/ewww-image-optimizer/
Obviously take into account what your niche will require and have a play around. There is so much stuff to be found that it’s worth taking the time to look for what will help you out best.
- Check everything is kosher with your website’s backend
At this point you should ask yourself this question: are there any issues with the nuts and bolts of my domain name and my server? Like, are they connected? Because that doesn’t happen automatically, even if you purchase them both from HostGator. We didn’t know the answer to this because we didn’t even know how to check it!
After installing WP we excitedly typed our website’s name into our address bar only to get a bunch of ‘not found’ errors. Our website didn’t exist! Oh s***!
After messing around a bit we stumbled on a pretty vital tool that HostGator provide you with to check all of this stuff: DNS Tool.
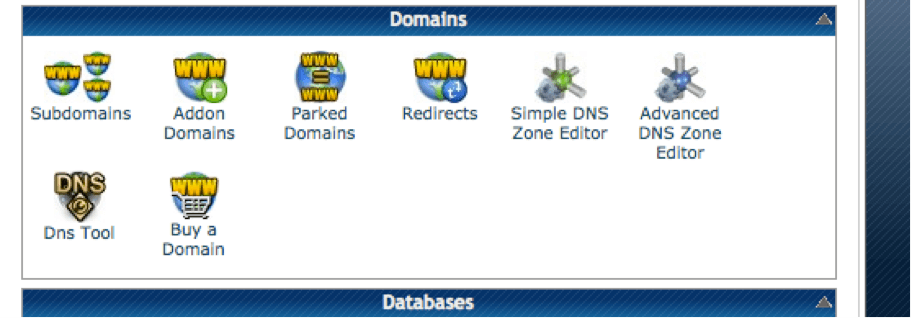
Click on this from the HostGator cPanel, select your domain and check it.
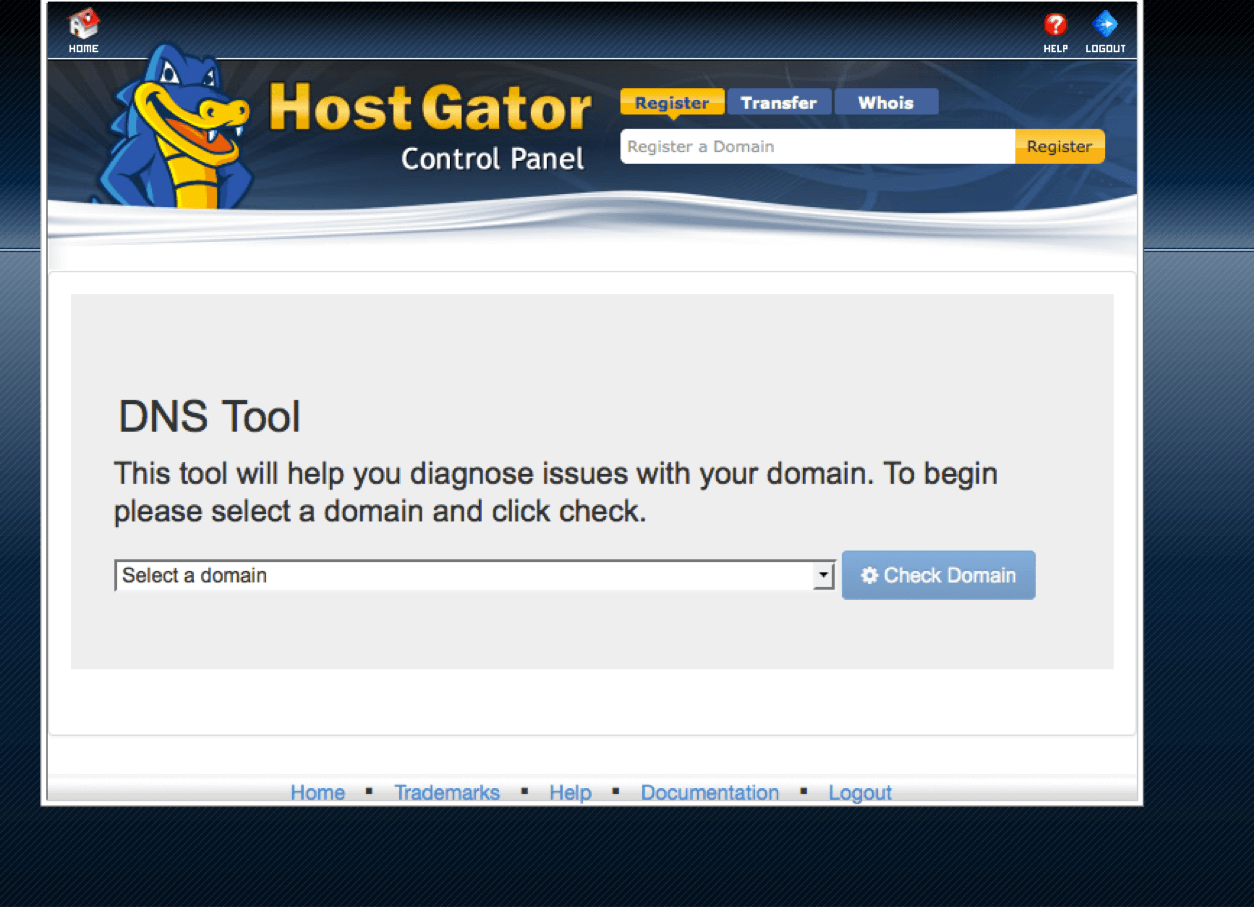
It will tell you (highlighted in red) if anything is wrong and kinda guides you how to fix it. For us, it told us that our website wasn’t pointed at the HostGator server: basically, our hosting and domain name weren’t properly linked. (This screenshot shows it now it’s fixed! It’ll be red on yours if they are not configured correctly yet.)

Since our domain name was also purchased through HostGator we could have just contacted their support at this point but being intrepid/suckers for punishment/otherwise unemployed we persevered!
To solve the issue, we went to https://register.hostgator.com/, then to Manage Domains, and, then to the Name Servers section.

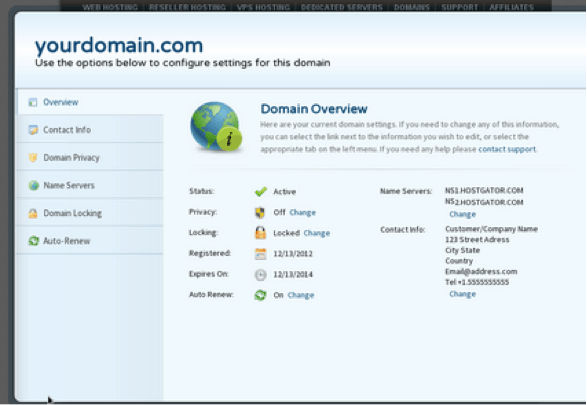
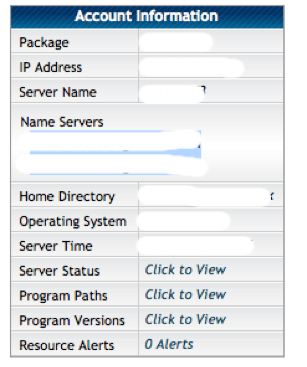
Then we added the names of our Name Servers (which can be found at the bottom left hand of your main HostGator page in the Account Information box) to our domain, and then just saved the changes.
They say it can take up to 48 hours, but ours started working within about 2!
(HostGator have a nice HowTo of the process here: http://support.hostgator.com/articles/getting-started/domain-names/how-do-i-manage-the-domain-i-bought-from-hostgator)
- Understand the order of rolling out your content
Now, and next time…
With a niche picked and a way to get it online sorted out (hosting and WP), what comes next is content. The point of this is to make money right? Monetising our site will require both Publishing and Advertising accounts with a number of networks. Getting a handle on the difference between these can be tricky initially so in our next blog post we’ll go into detail about the distinction between these and talk you through which networks to hit up for which accounts, and how to do it/how we did it.
Content guidelines and avoiding f*ckups…
Before that, listen up – use your free time now to get some good content up without restrictions. After talking with our buddies at NAB (Native Ad Buzz – time saved with acronyms wasted with explanations? guilty), we were warned that Google and other publishers are hot on what is and what isn’t okay. Each network we will be working with has VERY detailed terms and conditions, and flaunting them can cause lots of issues.
So now you’re on WP and ready to go, but before you’ve got Big Brother on your back (and before you’ve got any real traffic coming in at all), use the time to try out layouts, test your Fiverr logos out, and mess around with your look. Have a real Geek-out. We did!
When you’re happy with a layout, get some QUALITY content up. Arbitrage is a game that has been played badly by lots of others before, with some really sh*tty quality sites offering worse-than-clickbait and not much else. So the ad networks are on the lookout for really nasty/lowest common denominator stuff as an excuse to clip your wings before you even start.
Establish quality early for future success!
When we get up and running and making the big bucks, it’s likely that slideshows are going to be the thing to do that for us – lots of pages and opportunities for ads, not much copy required etc. BEFORE this, get yourself some non-slideshow quality content up, that fits your niche and actually shares some quality deets.
Say your niche is burgers (and why not?) – rather than ‘50 burgers to eat before you die’ and 50 pages of pictures, get 300 words up about the history of the burger, a think-piece about seeded bun vs. brioche bread, and a critical breakdown of condiments. Then when you go to Google/Big Brother and apply for your metaphorical gun and badge, you’ll have some great stuff to share that they will be keen to endorse. Slideshows and moneyspinners come after you’re licensed and ready to roll.
How not to mess up Google Adsense… like us…
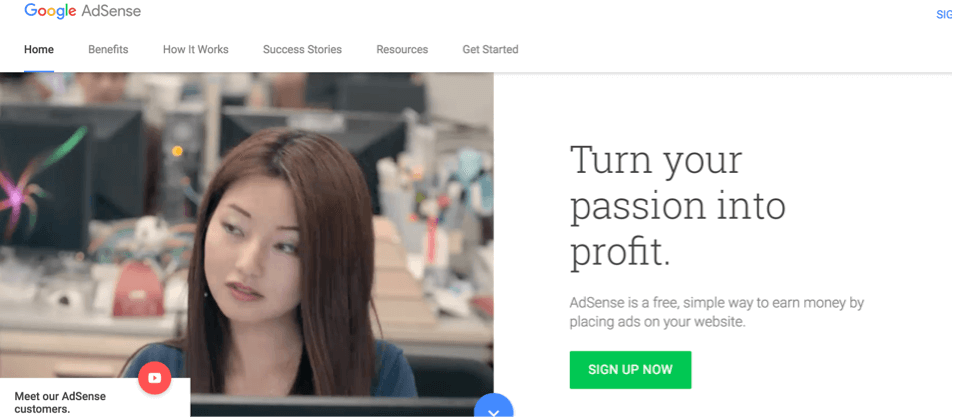
So Google AdSense will be your main source of income. You’ll be using AdSense to display other people’s ads on your site, and getting paid for the privilege. When setting up your AdSense account, our advice is DO YOUR HOMEWORK and bone up on their T&Cs, which can be done here: https://support.google.com/adsense/answer/48182?hl=en-GB – Read the fine print.
Here’s our AdSense journey in all its glory:
- Applying
We got on the AdSense site (we googled it…), and clicked that big old green button.
(Look how suspicious she is of us already…
- Rejection
Having already had content in place, we awaited them to check over our site to give us the approval we obviously deserved. It should take about 24 hours… 12 hours later, we get this email…
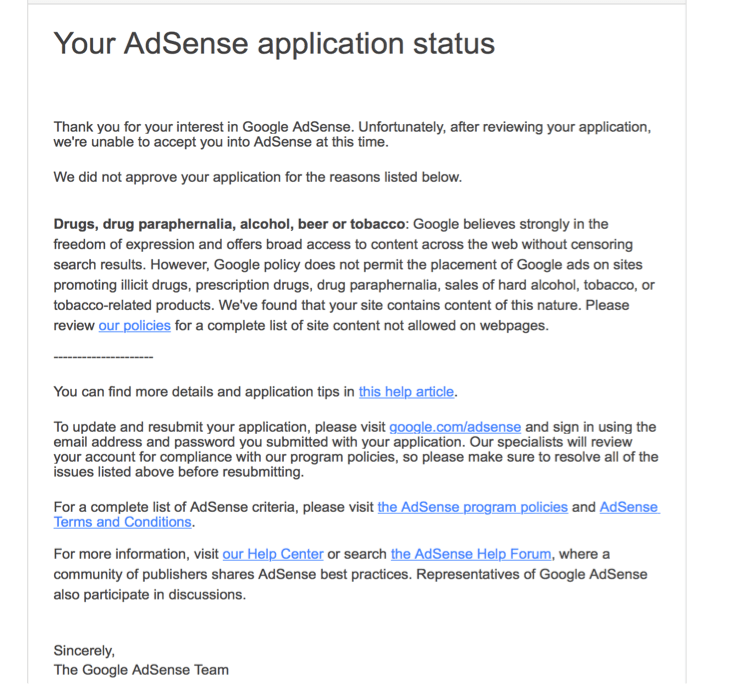
So yea… we rushed to consult the T&Cs and lo and behold we’d messed up. Without giving too much away, we’d been writing about the benefits of whisky and cigars, with links to sites selling this stuff. It turns out talking about the content in a ‘reviewer’ type way is fine, but encouraging such behaviour and linking to places where people can spend their cash on these corruptions is not…
- Glory
The workaround was simple. We went on to WP, took off the offending material (though kept it saved to, potentially, edit and reuse later on), and replaced it with more A-OK stuff, then reapplied. AdSense are pretty forgiving in that they re-reviewed us as soon as we had made our changes. After another 12 or so hours we got this little beauty –
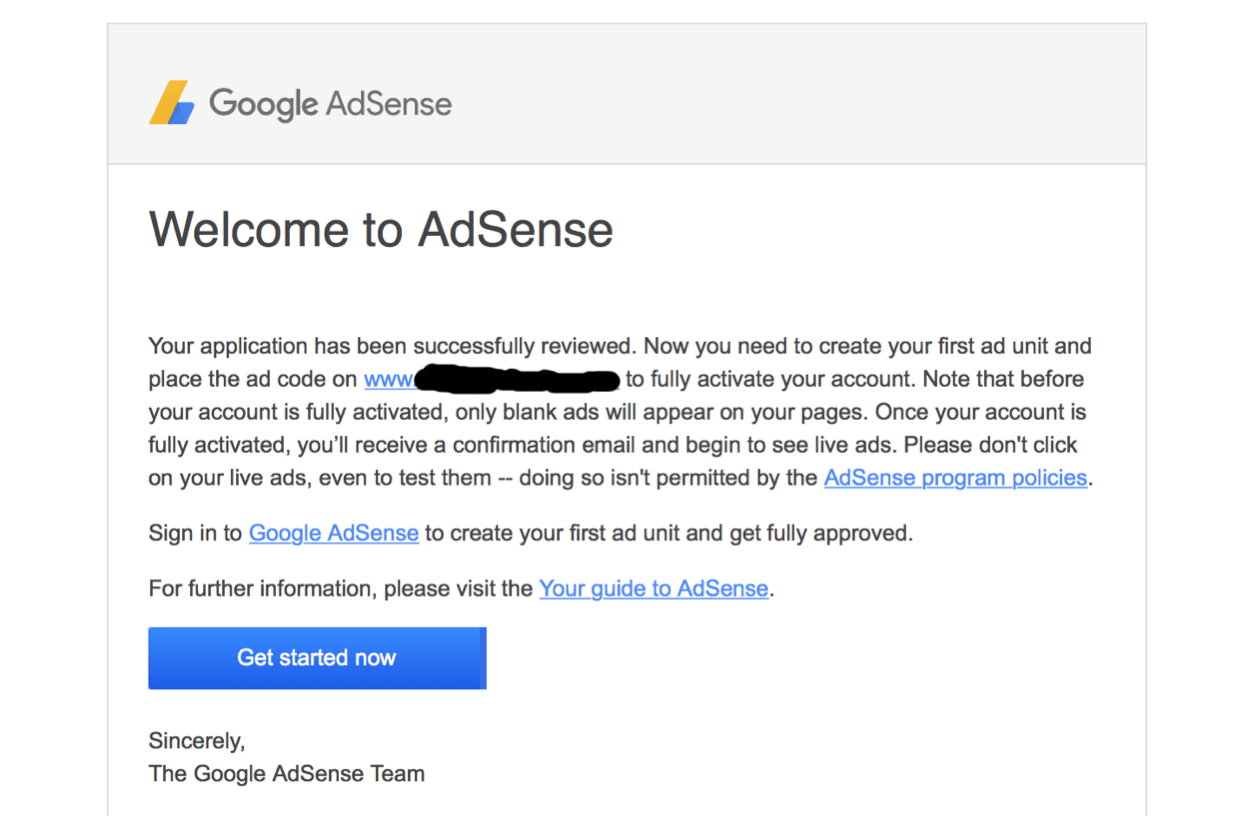
Happier than Harry Potter when he got into Hogwarts.
If this happens to you, don’t sweat it, just read the fine print and make sure you toe the line. They highlight what has gone wrong so it isn’t hard to pinpoint why! You may as well read the small print before applying though, and nail it first time.
Anyway, long story short, get some good informative content up (8-12 articles seems to be the sweet spot, PG-13 or safer seems to be the limit), and we will take you through how to get on the ad networks in detail next time.
Sound good?
Until then!
Jake